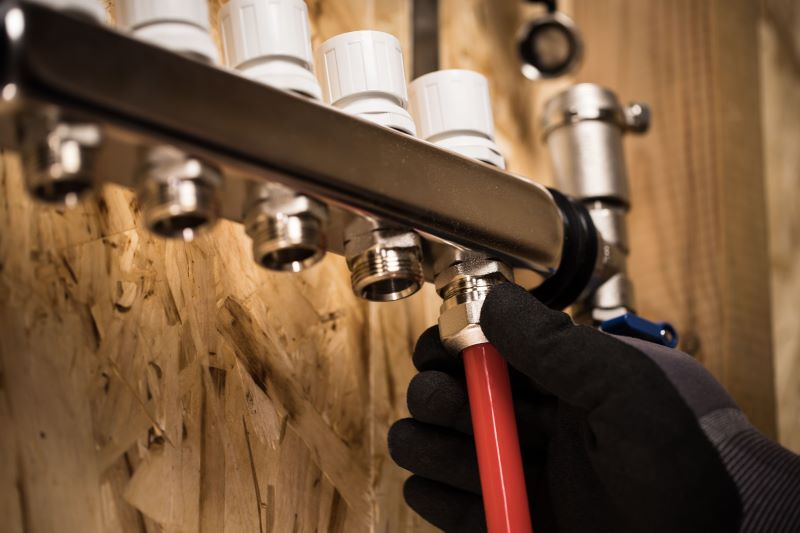

Choosing the right PEX fittings is essential for building a reliable PEX plumbing system. Different connection methods, including crimp, clamp, expansion, and push-fit, offer different installation requirements and applications.
The right choice depends on factors such as PEX tubing type, fitting compatibility, installation conditions, required tools, and project requirements. Proper installation is equally important. Clean cuts, correct fitting installation, appropriate bending, and pressure testing all contribute to reliable system performance.
This guide explains the main types of PEX fittings, how to choose between different connection methods, and the key steps for installing PEX tubing.
Key Takeaways
- Choose PEX fittings that are compatible with the type and size of PEX tubing being used.
- Consider the connection method, installation environment, required tools, and project requirements before selecting fittings.
- Follow the fitting and tubing manufacturer’s installation instructions and applicable local plumbing codes.
- Use the correct tools and make clean, square cuts to help ensure secure connections.
- Pressure-test the completed system before it is covered or put into service.
Why Proper PEX Fitting Selection Matters
PEX fittings play an important role in the performance and reliability of a PEX plumbing system. A fitting must be compatible with the tubing, connection method, and installation requirements of the project.
Selecting the right PEX pipe fittings can help create secure connections while making installation more efficient. The fitting material, connection method, tool requirements, and installation environment should all be considered during system planning.
Proper installation is just as important as product selection. Incorrect cutting, improper tool use, excessive bending, or incomplete connections can increase the risk of leaks and affect system performance.
For this reason, a reliable PEX plumbing system requires a complete approach that combines compatible components, appropriate installation methods, and good installation practices.
Understanding Different Types of PEX Fittings
PEX fittings connect sections of PEX tubing and help create a complete plumbing system. Several connection methods are commonly used, including crimp, clamp, expansion, and push-fit fittings.
Each method has different installation requirements and may be better suited to different project conditions.
1. PEX Crimp Fittings
PEX crimp fittings use a crimp ring and a dedicated crimping tool to secure the connection.
They are widely used in residential plumbing applications because the components and tools are generally straightforward to source. However, proper tool use is important. The crimp ring must be positioned correctly, and the connection should be checked after crimping.
2. PEX Clamp Fittings
PEX clamp fittings use a clamp ring to secure the tubing around the fitting.
The installation process is relatively straightforward when the correct clamp tool is used. Stainless steel clamps can provide consistent compression when installed correctly.
As with other mechanical connection methods, correct positioning and tool use are essential for a secure connection.
3. PEX Expansion Fittings
Expansion fittings use an expansion tool to enlarge the end of the PEX tubing before the fitting is inserted. The tubing then contracts around the fitting to create the connection.
This method can provide a strong mechanical connection and good flow characteristics. However, it requires compatible tubing, fittings, and specialized installation tools.
Always follow the manufacturer’s requirements for tubing compatibility and installation procedures.
4. PEX Push-Fit Fittings
Push-fit fittings allow PEX tubing to be connected without a traditional crimping or expansion tool.
They can be useful for repairs, modifications, and applications where installation speed or accessibility is important. However, correct insertion depth and compatibility are essential for reliable connections.
Crimp vs Clamp vs Expansion vs Push-Fit: Which PEX Fitting Should You Choose?
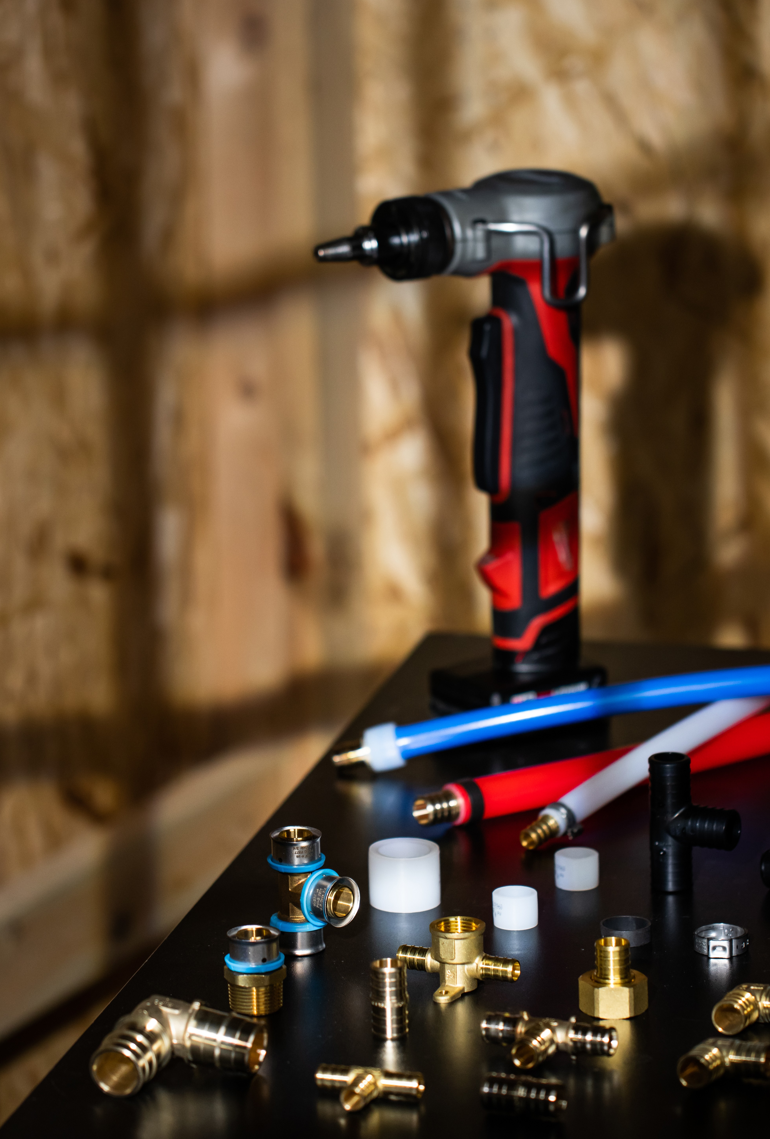
When choosing PEX fittings, it’s crucial to contemplate the advantages of each type. Crimp fittings offer affordability and widespread use, while clamp fittings guarantee straightforward installation with reliable connections. For high-performance needs, expansion fittings excel, and if you need quick setup, push-fit fittings require no special tools. Additionally, expansion fittings are backed by a 25-year warranty, ensuring long-term reliability and customer satisfaction.
Crimp Fittings: Affordable and Widely Used
Crimp fittings are among the most affordable and widely used options for connecting PEX tubing in residential plumbing projects. They offer several advantages that make them appealing:
- Low Material Cost: Crimp fittings are budget-friendly, making them ideal for cost-sensitive installations.
- Widely Available Tools and Components: You can easily find the necessary tools and fittings at local hardware stores.
- Proven Installation Method: This method has been reliably used for years in standard residential applications.
However, take into account that crimp fittings require correct crimping pressure, and incorrect tool calibration can lead to connection issues. Additionally, if you’re using copper rings, you’ll need to inspect them carefully to guarantee a secure fit. Furthermore, using high-quality PEX tools ensures that you achieve reliable performance and secure connections during installation.
Clamp Fittings: Simple Installation With Consistent Connections
After weighing the benefits of crimp fittings, it’s important to explore clamp fittings, which offer a straightforward installation process with reliable connections. Stainless steel clamps provide uniform pressure, ensuring consistent performance. You’ll find that tool positioning is easier compared to crimp systems, making it a favorite among professional installers. However, keep in mind that clamp fittings come with a slightly higher cost and require compatible clamp tools. Additionally, proper sealing is critical for system integrity, ensuring a durable and leak-free plumbing solution.
| Fitting Type | Main Advantage | Key Consideration | Typical Application |
| Crimp | Widely used and cost-effective | Requires correct crimping and tool calibration | Residential plumbing |
| Clamp | Straightforward installation | Requires a compatible clamp tool | Residential and commercial systems |
| Expansion | Strong mechanical connection and good flow characteristics | Requires compatible tubing and specialized tools | Performance-focused applications |
| Push-Fit | Fast installation with minimal tools | Requires correct insertion and compatibility | Repairs and modifications |
Expansion Fittings: High-Performance PEX Connection
While many installers appreciate the ease of clamp and crimp fittings, expansion fittings stand out for their high-performance capabilities in PEX plumbing systems. These fittings create a strong mechanical connection, providing excellent flow characteristics due to their larger internal diameter. They’re especially suitable for cold climates where expansion and contraction occur.
Here are three key points to evaluate:
- Strength: They offer a robust connection that minimizes leak potential.
- Flow Efficiency: The larger internal diameter enhances water flow, making it ideal for high-demand systems.
- Climate Resilience: They perform well in environments with significant temperature fluctuations.
However, keep in mind that expansion fittings require specialized tools and represent a higher initial investment, making them best suited for premium residential projects and high-performance applications. Additionally, they are compliant with American standards for quality, ensuring reliability in various plumbing applications.
Push-Fit Fittings: Fast Installation Without Special Tools
When you need a fast and reliable solution for your PEX plumbing projects, push-fit fittings offer an efficient option that doesn’t require special tools. These fittings allow for quick connections, perfect for repairs and modifications, and demand minimal equipment. However, be aware of their higher cost and verify the correct insertion depth for peak performance. Additionally, push-fit fittings are compatible with both PEX-a and PEX-b types, ensuring versatility in various plumbing applications.
| Advantages | Limitations | Best Suited For |
| Quick connection process | Higher fitting costs | Maintenance work |
| Useful for repairs | Requires verification of correct insertion | Small renovation projects |
| Minimal equipment requirements | Quality differences between manufacturers | — |
How to Select the Right PEX Fittings for Your Project
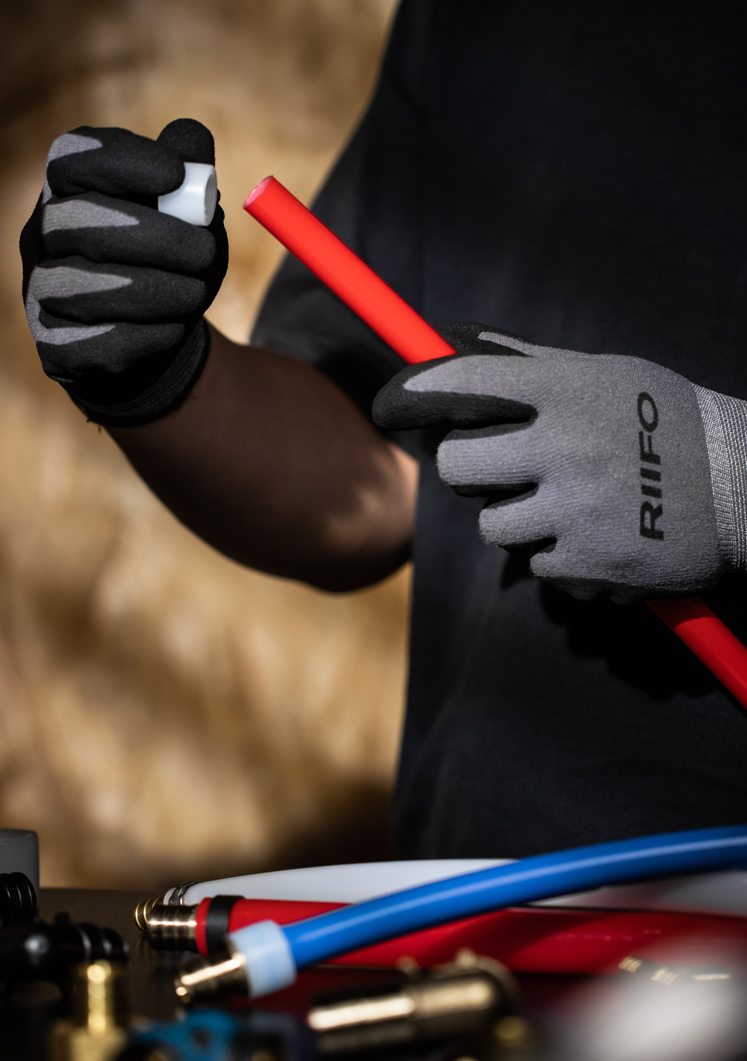
Match Fittings With PEX Pipe Type
Compatibility should be the first consideration when selecting PEX fittings.
PEX tubing is commonly identified as PEX-A, PEX-B, or PEX-C. However, fitting compatibility depends on the specific tubing, fitting, and connection system.
Before installation, verify:
- Tubing type and size
- Fitting type and size
- Connection method
- Manufacturer compatibility requirements
- Applicable plumbing codes and standards
Always follow the manufacturer’s installation instructions rather than assuming that one connection method is suitable for every type of PEX tubing.
Additionally, the 25-year product warranty ensures that you can trust the durability of your chosen fittings. Choose wisely to avoid costly mistakes in your plumbing system!
Consider Installation Environment
The installation environment can affect fitting selection and installation requirements.
Consider factors such as:
- Indoor or outdoor installation
- Temperature conditions
- Exposure to sunlight
- Accessibility of connections
- Operating pressure
- Available installation space
- Local plumbing requirements
PEX tubing should also be installed according to the manufacturer’s requirements for bending, support, protection, and environmental exposure.
Evaluate Long-Term Reliability
Initial fitting cost is only one part of the overall project cost.
A reliable PEX plumbing system should be evaluated based on installation quality, component compatibility, expected service conditions, and maintenance requirements.
Poorly installed connections can lead to leaks, repairs, and additional labor. Choosing compatible components and following the correct installation procedure can help reduce these risks.
Consider these potential issues:
- Leakage Risk: Inexpensive fittings may not seal properly, increasing the likelihood of leaks over time.
- Maintenance Requirements: Cheaper fittings often necessitate more frequent inspections and repairs, adding to your workload and expenses.
- Replacement Costs: If fittings fail, you’ll face not just the cost of replacements but also downtime, which can disrupt your project.
Investing in reliable fittings pays off in the long run, ensuring a more durable and efficient plumbing system. Additionally, using high-quality PEX tools can enhance installation precision and reduce the risk of future issues.
Choose Certified Plumbing Components
For potable water and other regulated applications, certification and compliance should be considered when selecting PEX tubing and fittings.
Look for products that have been tested and certified according to the standards and regulations applicable to the target market.
Certification requirements can vary by region, so always verify the specific requirements for the project location.
| Aspect | Importance | Example |
| International Certifications | Ensures compliance with global industry standards | NSF/ANSI 61 certified |
| Testing Standards | Verifies product strength, safety, and reliability | ASTM F876/F877 compliant |
| Material Quality | Determines durability and long-term performance | Cross-linked polyethylene (PEX) |
Step-by-Step Guide to PEX Installation
Once the appropriate PEX tubing and fittings have been selected, proper installation is essential for system performance.
Step 1: Plan the Plumbing Layout
Start by planning the routing of the PEX tubing before installation.
Determine the pipe path, connection points, and required tubing lengths. Where possible, avoid unnecessary bends and excessive routing that could make installation more difficult.
A well-planned layout can also help reduce unnecessary fittings and simplify installation.
Here are three key steps to follow:
- Determine Pipe Routing: Map out the path your PEX tubing will take, considering existing structures.
- Minimize Unnecessary Bends: Plan for straight runs to reduce friction and potential leaks.
- Calculate Required Pipe Lengths: Measure carefully to guarantee you purchase enough tubing without excess. Additionally, consider incorporating the low-noise drainage featuresof other systems to enhance overall comfort during use.
Step 2: Cut PEX Tubing Correctly
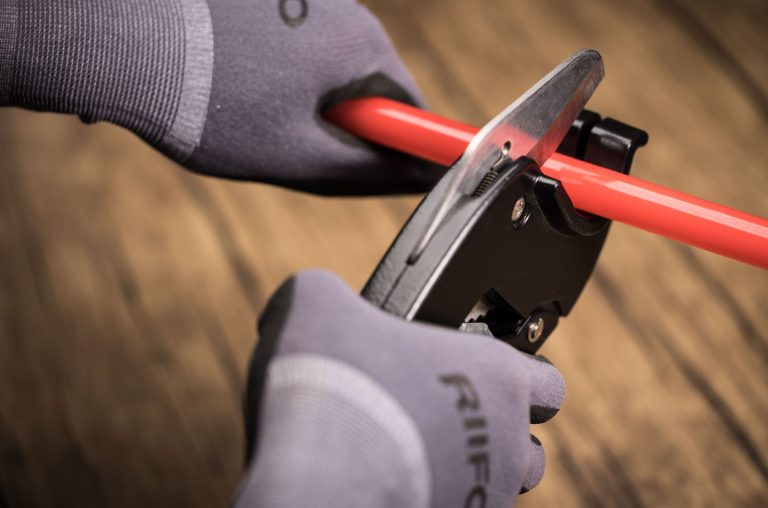
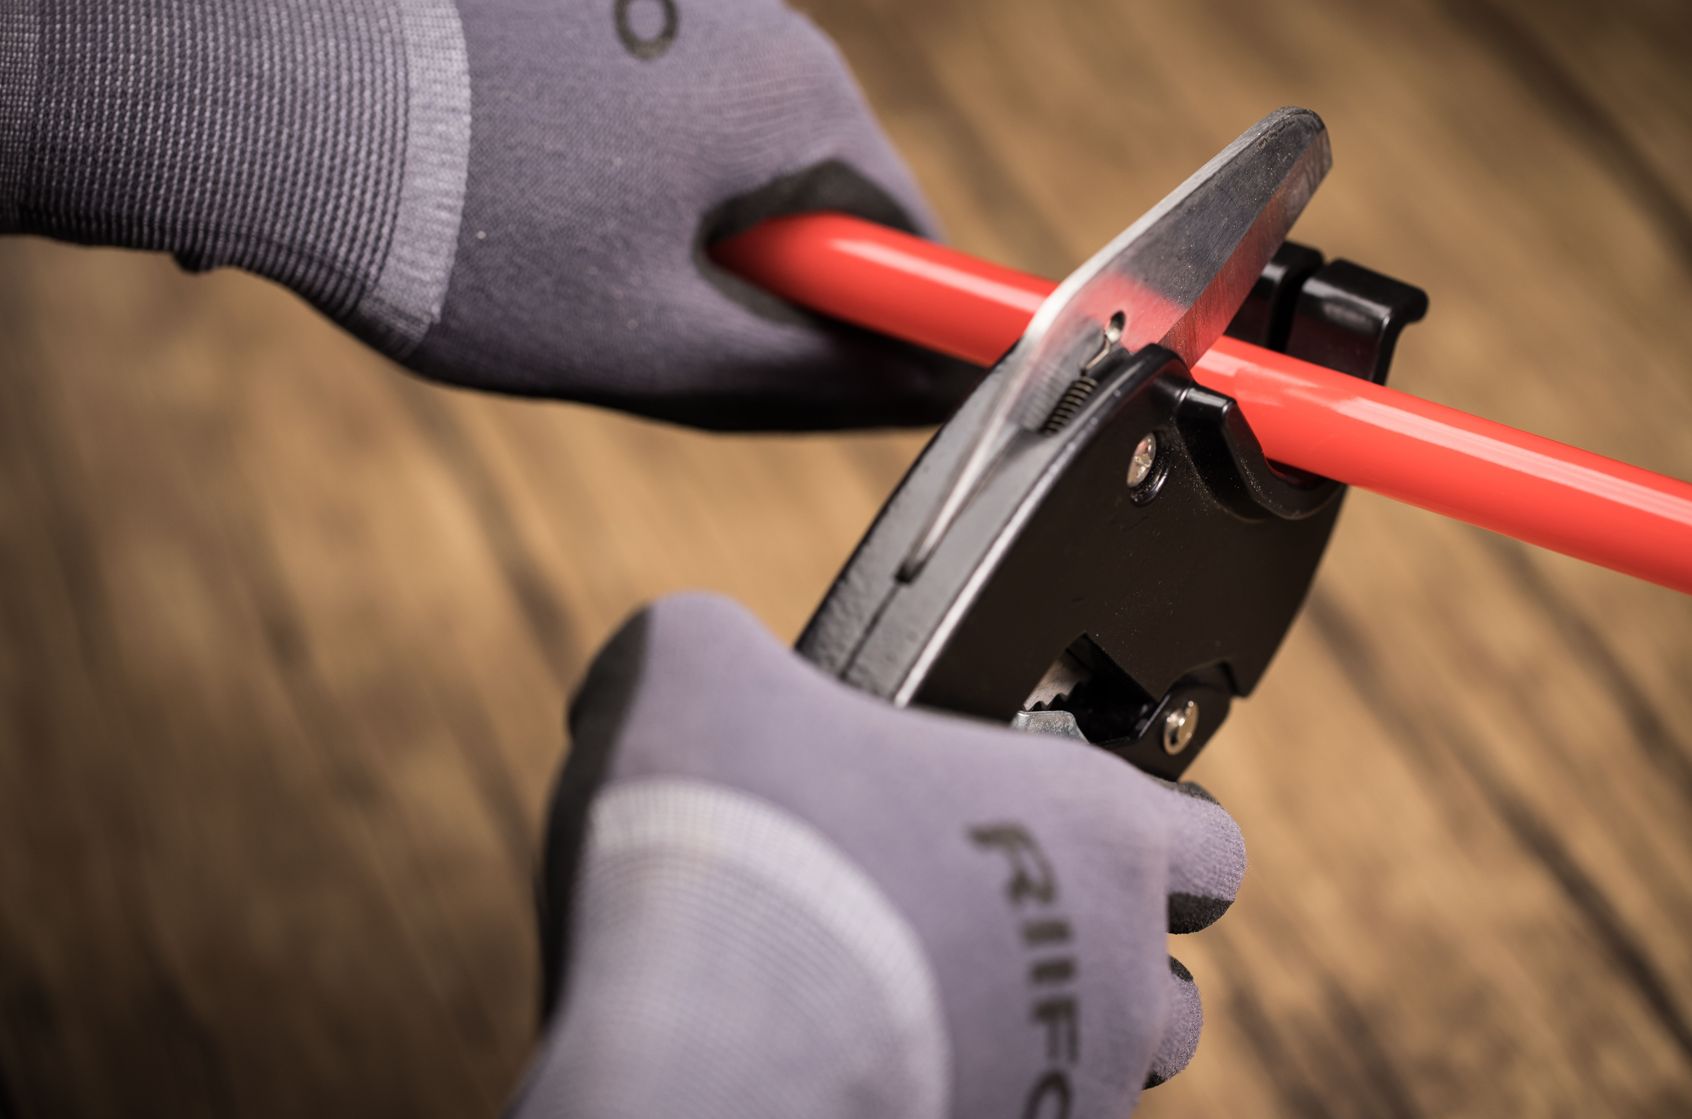
With the plumbing layout mapped out, the next step involves accurately cutting your PEX tubing. Using a dedicated PEX cutter guarantees clean, 90-degree cuts, which are vital for proper connections. Avoid damaging the pipe ends to prevent leaks later. Additionally, using high-quality tools ensures secure and reliable installations that meet professional standards.
Here’s a quick reference table for best practices and common mistakes:
| Best Practices | Common Mistakes | Tips |
| Use a Dedicated PEX Cutter | Using damaged or unsuitable cutting tools | Inspect tools regularly to ensure clean cuts |
| Make Clean 90-Degree Cuts | Creating angled or uneven cuts | Practice cutting techniques on scrap pipe pieces |
| Avoid Crushing Pipe Ends | Installing damaged or deformed pipe sections | Check for visible defects before installation |
Following these guidelines will enhance your installation process and guarantee a solid, leak-free system.
Step 3: Bend and Position PEX Tubing Properly
Bending and positioning PEX tubing correctly is crucial for a successful installation. PEX’s flexibility offers several advantages, including fewer fittings, easier installation in tight spaces, and reduced potential leakage points. To maximize these benefits, follow these best practices:
- Respect minimum bending radius: Always adhere to the manufacturer’s specifications to avoid damaging the tubing.
- Avoid sharp bends: Sharp turns can kink the tubing, leading to flow restrictions or failure.
- Use supports and guides: Properly support the tubing along its length to prevent sagging and guarantee a neat installation. Additionally, ensure you consider the freeze resistanceof PEX-a products to maintain durability in cold conditions.
Step 4: Connect PEX Fittings Correctly
The connection procedure depends on the fitting method being used.
- For crimp connections, insert the fitting into the tubing, position the crimp ring correctly, and use the appropriate crimping tool according to the manufacturer’s instructions.
- For clamp connections, position the clamp correctly and use the specified clamp tool to secure the connection.
- For expansion systems, use the compatible expansion tool and follow the manufacturer’s specified expansion and fitting procedure.
- For push-fit connections, insert the tubing to the required depth and verify that the connection is fully engaged.
Regardless of the connection method, inspect each connection before proceeding to the next installation stage.
Step 5: Pressure Test the System
After you’ve completed the installation of your PEX tubing, it’s crucial to perform a pressure test to guarantee the system is watertight and functioning correctly. This step confirms that any potential leaks are identified before finalizing the installation. Here’s how to conduct the pressure test effectively:
- Pressurize the System: Use a pressure gauge and pump to bring the system to the recommended pressure level, typically between 40-60 psi.
- Check All Joints: Inspect each connection and fitting for any signs of leakage. This includes visual checks and feeling for moisture.
- Verify System Performance: Maintain pressure for at least 15-30 minutes. If the pressure drops, it indicates a leak that needs addressing before proceeding.
Completing this step guarantees a reliable plumbing system, especially when using high-quality PEX tools designed for precision and ease of use.
PEX Installation Troubleshooting Checklist
When installing PEX, it’s essential to have a troubleshooting checklist handy. This checklist should cover key aspects before, during, and after installation to guarantee everything runs smoothly. By addressing potential issues at each stage, you can prevent costly mistakes and secure a successful setup. Additionally, ensure that you are using the correct crimping tool size to achieve a reliable connection.
Before installation
Before you begin the installation process, it is vital to guarantee everything is in order. A thorough checklist will help guarantee a smooth experience and prevent issues later on. Here are three critical items to confirm:
- Confirm tubing and fitting compatibility.
- Check tubing and fitting sizes.
- Prepare the correct installation tools.
- Inspect tubing for cuts, kinks, or visible damage.
- Review the manufacturer’s installation instructions.
During installation
While you’re installing PEX fittings, it’s essential to follow a few key practices to assure a successful outcome. Here’s a quick checklist to help you troubleshoot common issues during installation:
| Practice | Why It Matters |
| Make clean, square cuts | Helps ensure proper fitting engagement |
| Insert fittings correctly | Helps create a secure connection |
| Use the correct installation tool | Supports consistent connection quality |
| Follow manufacturer instructions | Helps ensure correct installation |
| Avoid excessive bending | Reduces stress and potential damage |
Additionally, ensure that you utilize proper expansion techniques to achieve a secure and lasting connection.
After installation
- Complete the required pressure test.
- Inspect all visible connections.
- Check for signs of leakage.
- Verify that tubing is properly supported.
- Record relevant installation details for future maintenance.
Professional Installation Tips for a Reliable PEX Plumbing System
Following a few basic practices can improve the consistency and reliability of PEX installation.
- Use compatible components. Make sure the tubing, fittings, rings, and installation tools are designed to work together.
- Make clean cuts. A clean, square tubing end helps ensure proper fitting installation.
- Follow the correct bending requirements. Respect the manufacturer’s minimum bending radius and avoid kinks.
- Use the correct tools. Crimp, clamp, and expansion systems require different installation tools and procedures.
- Protect PEX tubing from unsuitable conditions. Follow manufacturer requirements for sunlight exposure, temperature, support, and protection.
- Pressure-test the completed system. Test the system according to applicable codes and manufacturer requirements before covering the pipework.
Conclusion:
Build a Reliable Plumbing System With the Right PEX Installation Method
A reliable PEX plumbing system depends on more than the tubing itself. Compatible fittings, appropriate connection methods, proper installation practices, and thorough system testing all contribute to overall system performance.
With extensive experience in global piping solutions, RIIFO provides PEX plumbing solutions for residential and commercial applications. Its product portfolio is supported by international certifications, advanced manufacturing capabilities, and professional technical support.
RIIFO PEX solutions are also backed by a 25-year warranty, providing additional support for long-term project requirements.
Whether you are selecting PEX tubing and fittings for a residential plumbing project or a larger commercial application, choosing compatible components and following the correct installation practices can help build a reliable piping system.